We wanted to make ourselves a studio. We wanted a control room separate to a live room (after enduring years of amateur bedroom recording) and a lounge. UK planning and construction laws basically gave us the dimensions of the building, which was the maximum permissible without planning permission. The actual design of the building was a bit of a just-start-cutting-wood-and-see-what-happens kind of job, but with a lot of thought along the way we were sure we would be okay. As the plot of land was on a fairly steep slope the idea was to build from a raised brick pillar foundation. We had a builder put 9 pillars into foundation holes that we had dug, and that would be the last professional bit of help we would receive along the entire build!
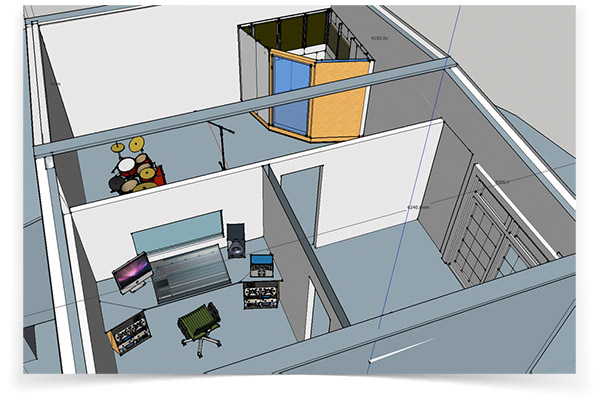
The 3d design above is similar to the actual design we went for, except the roof was built to slope in one direction alone and the two smaller rooms were put at the other end of the building. Having the roof on a slope that fell away from the front of the building provided a crawl space that was good for storing equipment. The designs that I made in 3D were intended to give us an idea of the space available and how to use it. One of the big questions was wether to install a toilet in the building, but it was eventually decided against because of the space available.
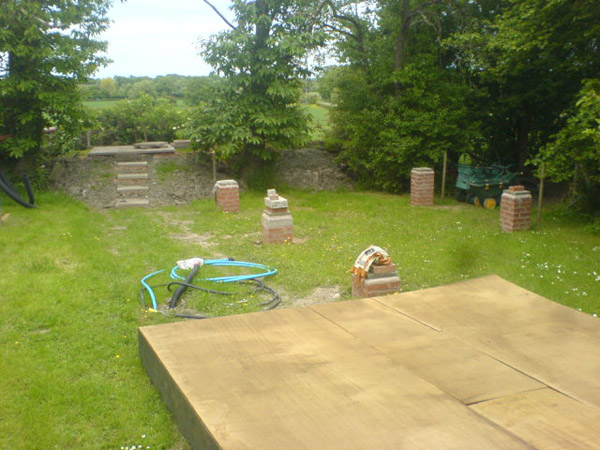
The brick foundations laid by a builder. Note the water and electricity pipes have been laid and the large wooden deck in the foreground is one quarter of the floor. The floor panel is upside-down here, as the very thin ply on it is only intended to hold insulation in, rather than support any weight.

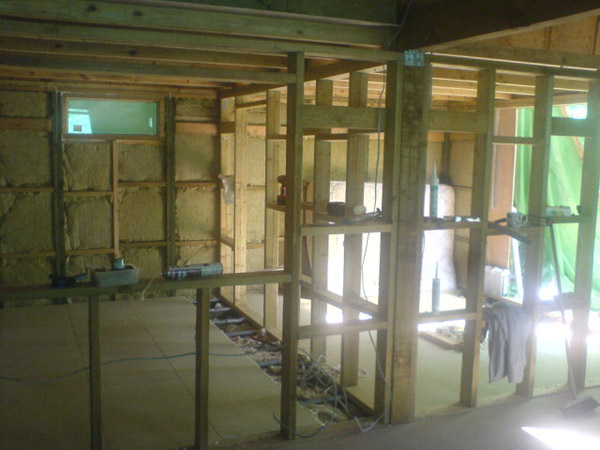
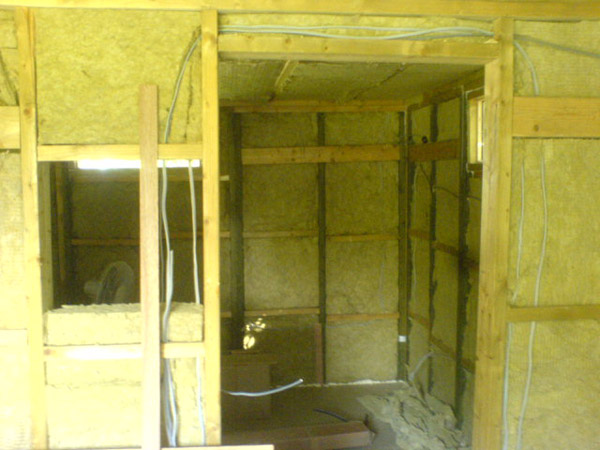
The walls were built from multiple panel frames bolted together. This allowed us to make the structure in sections, alternating panel types for ones that would house a window or a door.
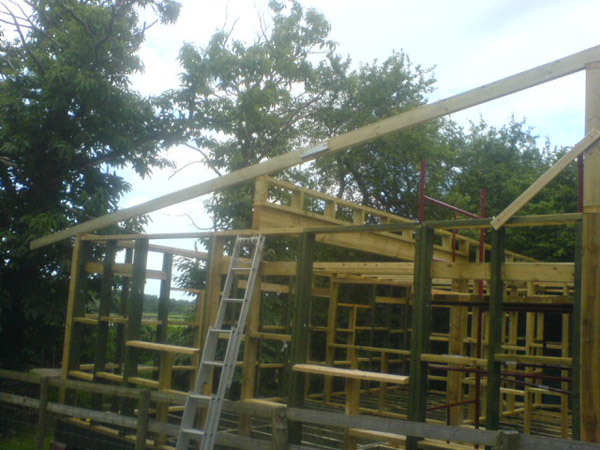
Installing the first roof beam. The roof beams were constructed from two lengths of long timber bolted in the center, as a length long enough in its own right wasn't available for any reasonable amount of money. The roof was decided to be angled to help acoustics, draining and provide a small crawl space above one of the internal rooms.
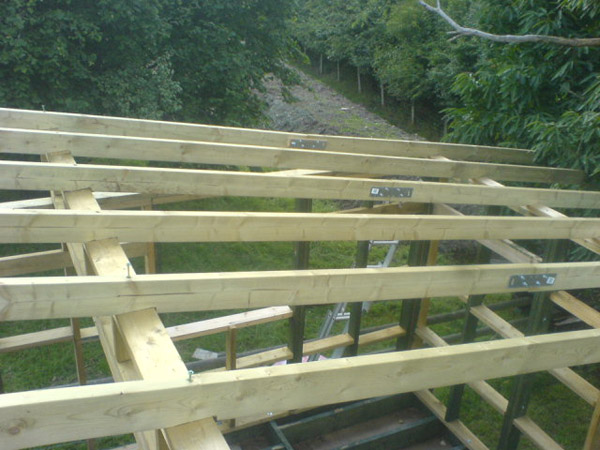
More roof beams.
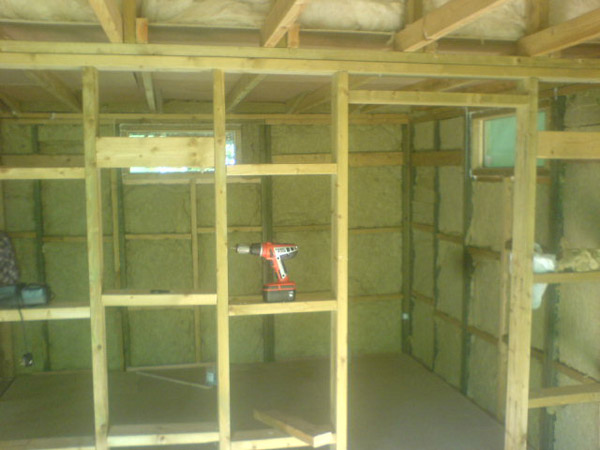
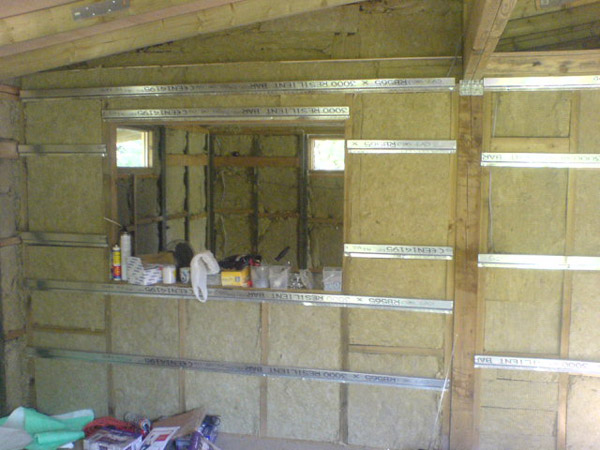
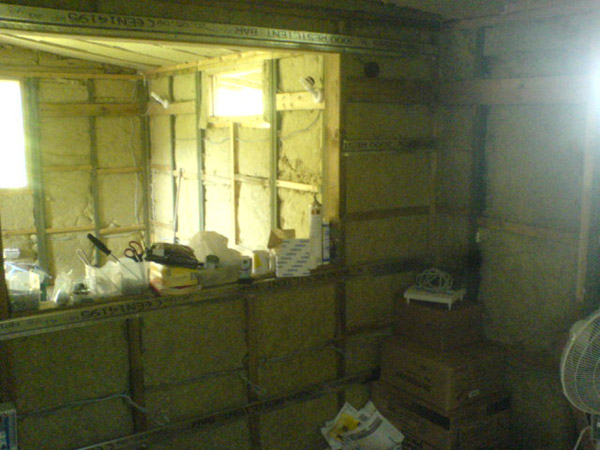
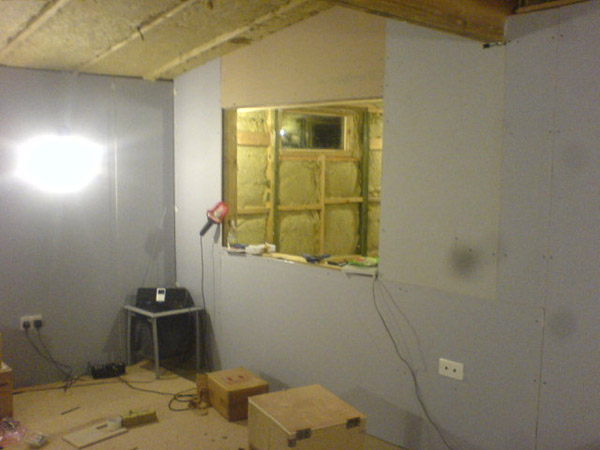
The internal frame construction in more detail. Rockwool acoustic/thermal insulation is being put in at this point. We spent a number of weeks of our lives indescribably itchy because of how nasty this stuff is to work with.
Installing the DIY floating floor. The heavy weight chipboard flooring was mounted on foam risers in an attempt to reduce the coupling of noise through the structure.
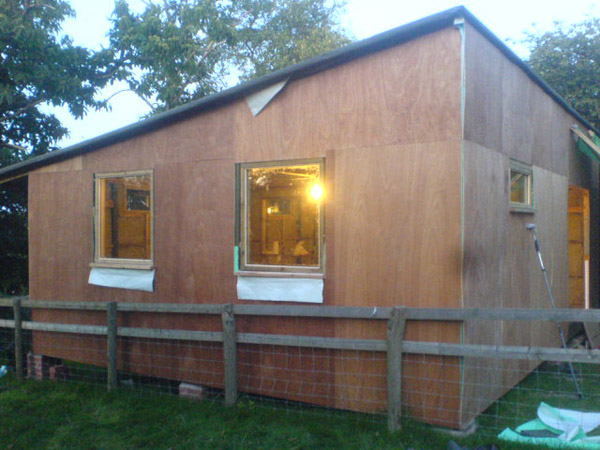
The fully clad exterior. Treated ply was used.
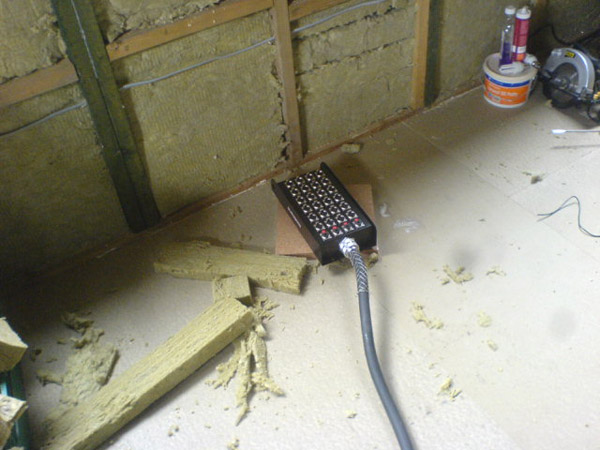
Audio signals needed to get from the live room into the control room, so we ran this stage box through the floor. Our patch bays work with balanced audio jack, but this patch bay had XLR. I had the lovely task of soldering on 24 balanced jacks, which in the end only took about 6 hours of sitting in an itchy dark corner.
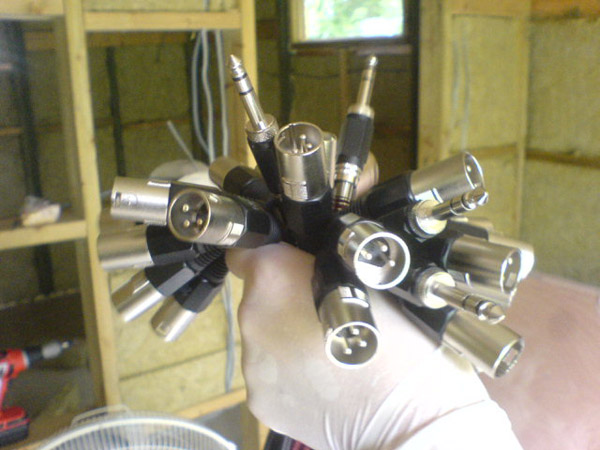
The severed connectors.

The wall separating the control and live rooms used these metal hangers to hold the acoustic plasterboard away from the wooden structure. They add a degree of isolation in the bass frequencies by decoupling some of the vibration.
The plasterboard hangers finished.
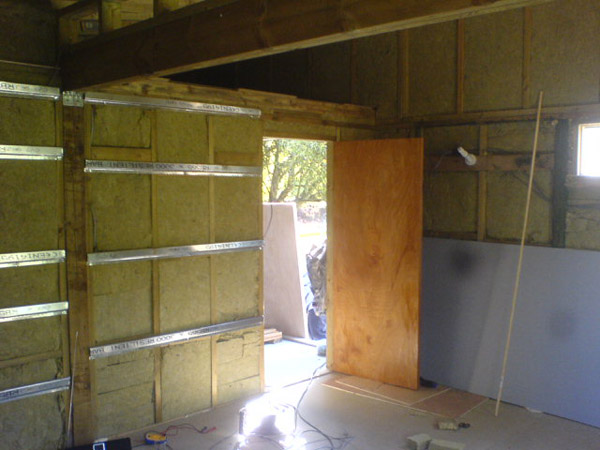
The first door installed. Heavy duty fire doors were used to adsorb as much sound as possible. Later we would put a gasket frame all around every door to stop air (and therefore sound) flowing through.
Wiring through the frame.
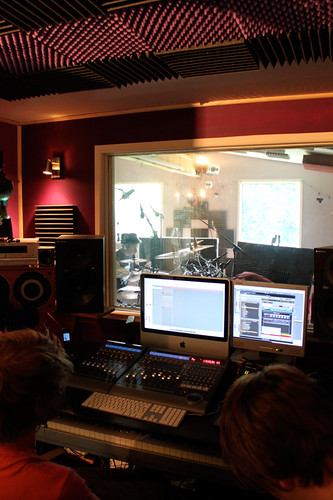
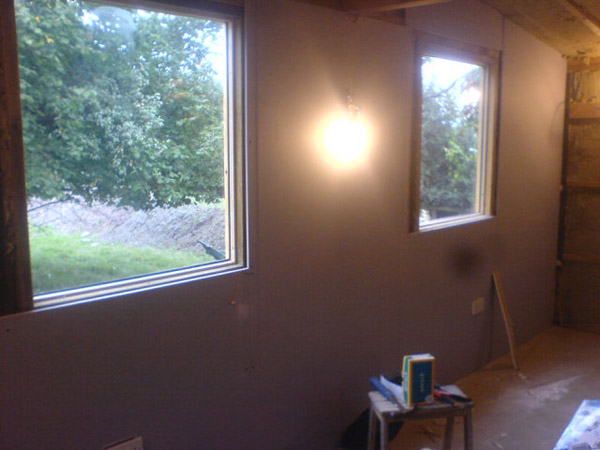
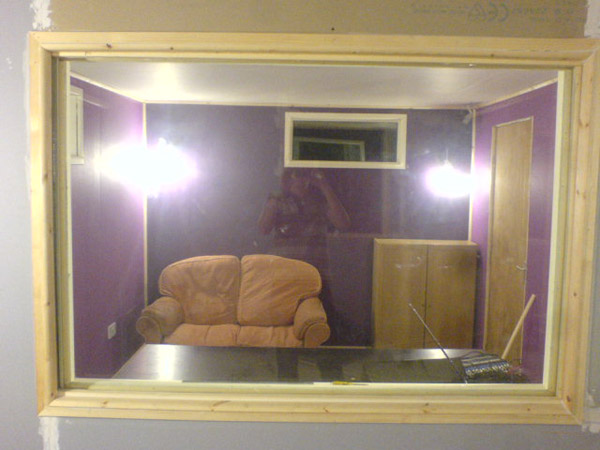
The view through the control room window.
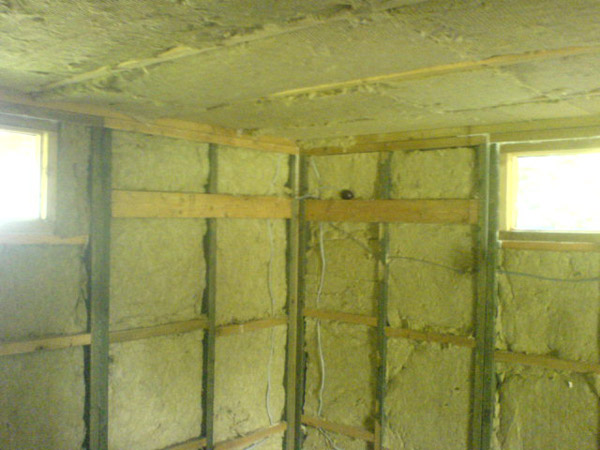
Finished wiring and ceiling insulation in the control room.
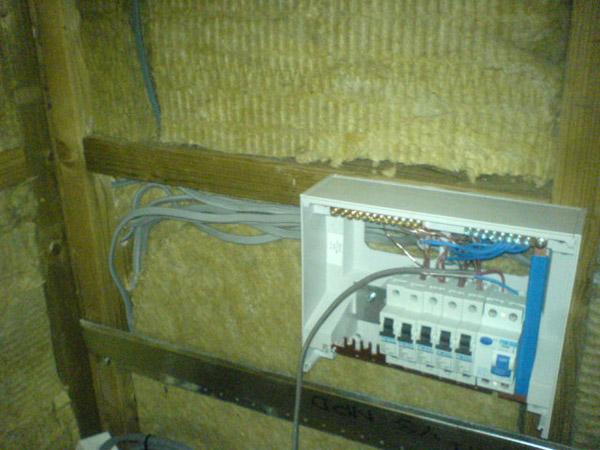
The consumer unit part way through wiring. I spent a lot of time in this itchy cave.
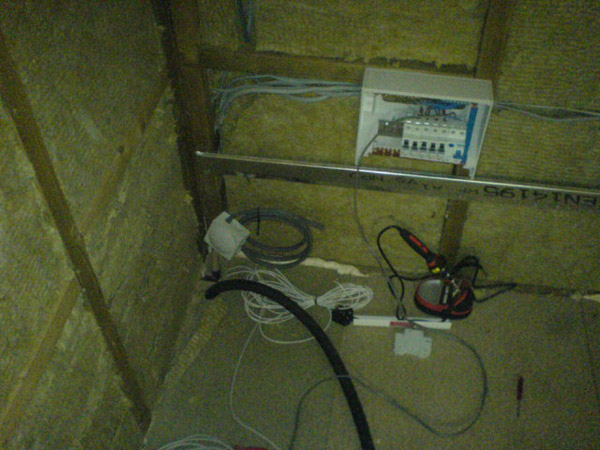
Main power cable pulled through the floor.
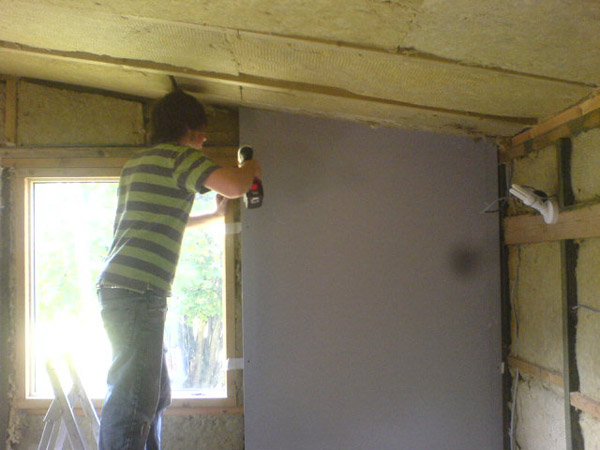
The first piece of plasterboard. This was thick acoustic plasterboard and was surprisingly heavy, so boarding up the ceiling was going to be difficult.
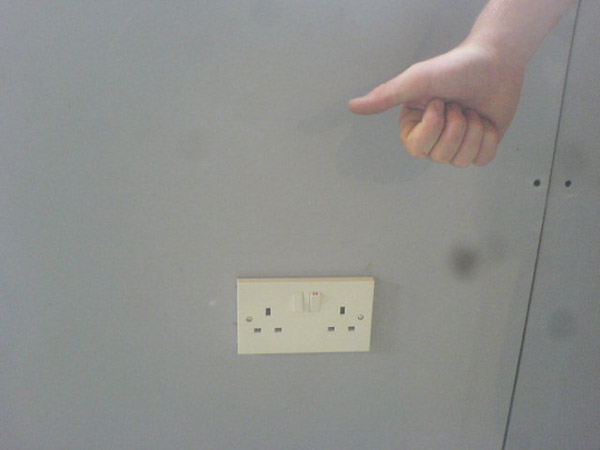
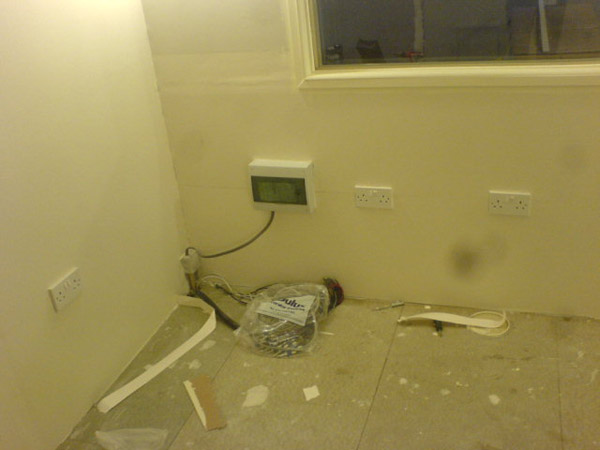
Our first 13A socket.
More plasterboarding.
The wall lights at this stage were temporary energy saving bulbs wired into the mains.
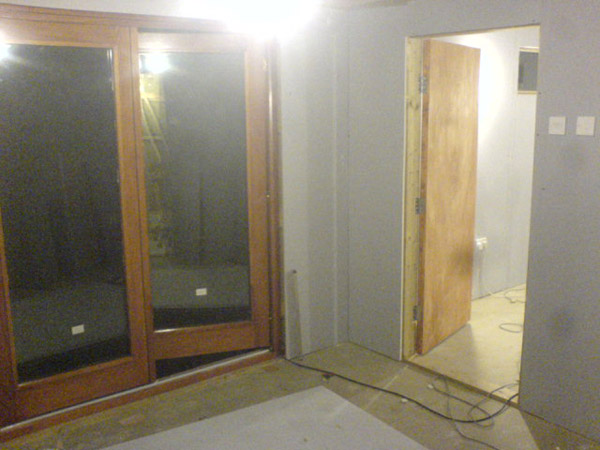
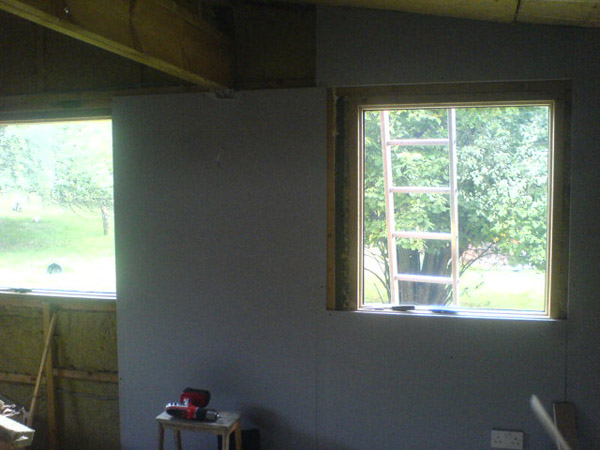
Our double glazed French doors installed.
All of the plasterboard fitted to the hanging mounts.
Plasterboarding took a very long time.
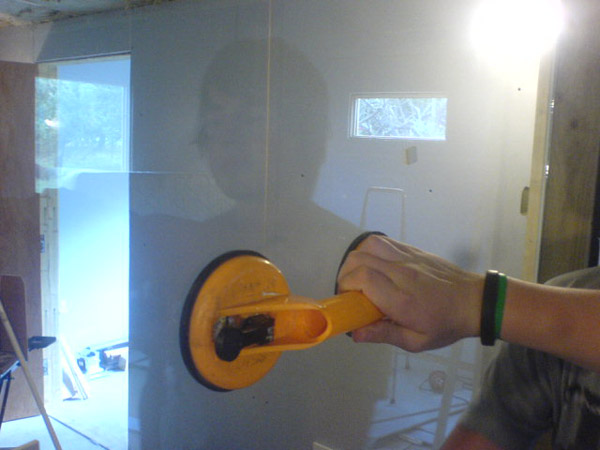
Our first piece of acoustic glass being installed in the control room's window. We used two pieces of different thicknesses placed around an inch apart. The different thicknesses meant that they had different resonant frequencies, reducing the tendancy for some bass notes to propagate through both layers.

During construction we developed an unhealthy caffeine habit. I can barely touch the stuff any more! Notice that a lot of the photographs here are at night, mainly because sleep was not a consideration a lot of the time.
Plasterboarded, windowed and plaster skimmed over the joints.
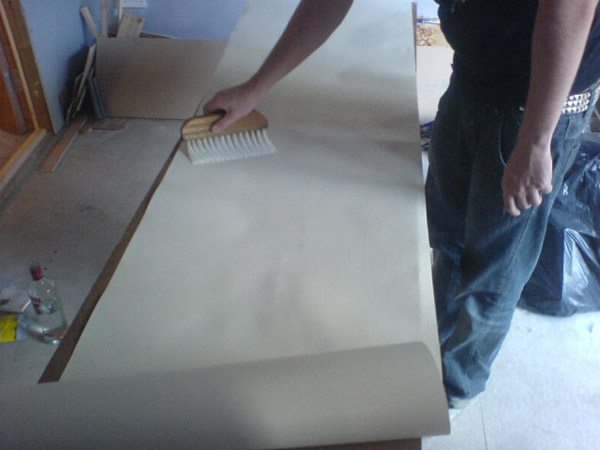
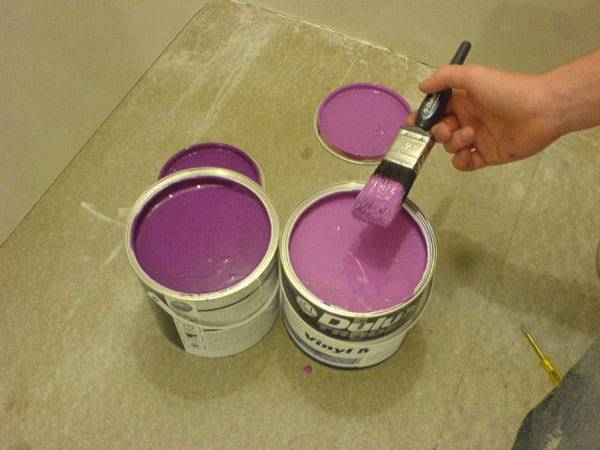
Now the walls had to be coated in lining paper ready for painting. This also took a very long time.
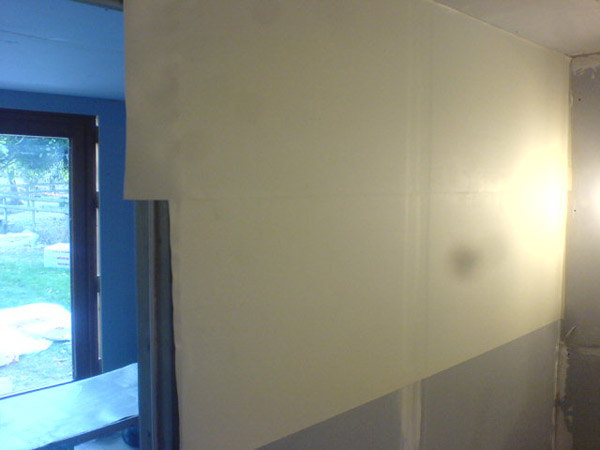
Two strips...
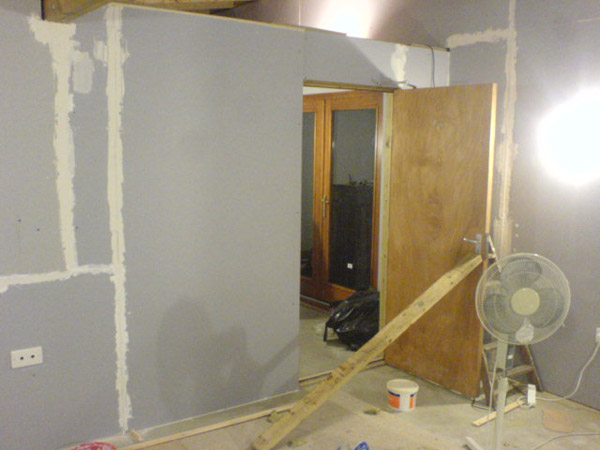
A fan was on most of the time to remove the noxious fumes. Being acoustically sound it didn't ventilate very well in the live room. Note the MIDI ports on the wall to the left.
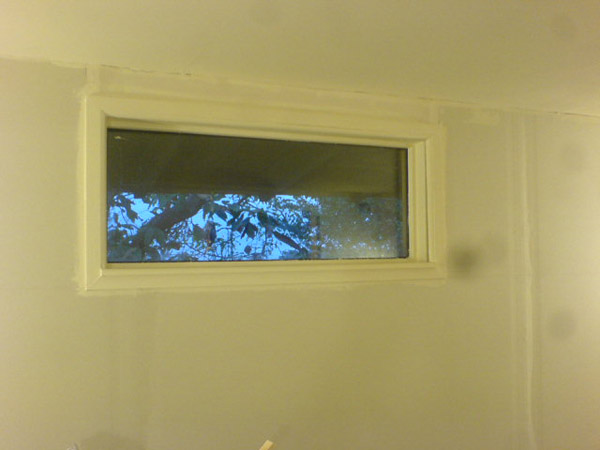
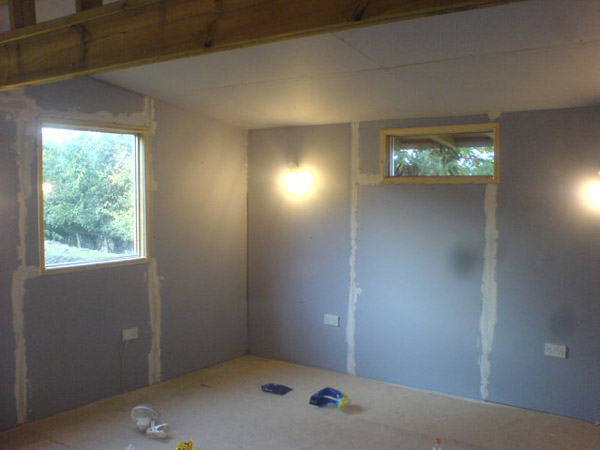
Finished papering and the window frame has been painted. These windows were also acoustic double glazing, but only a single pane was used.
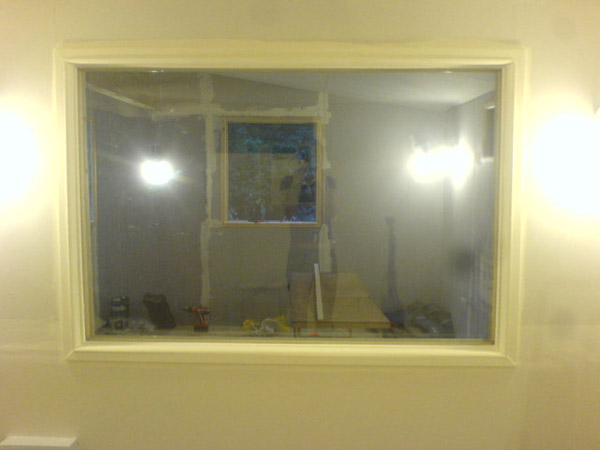
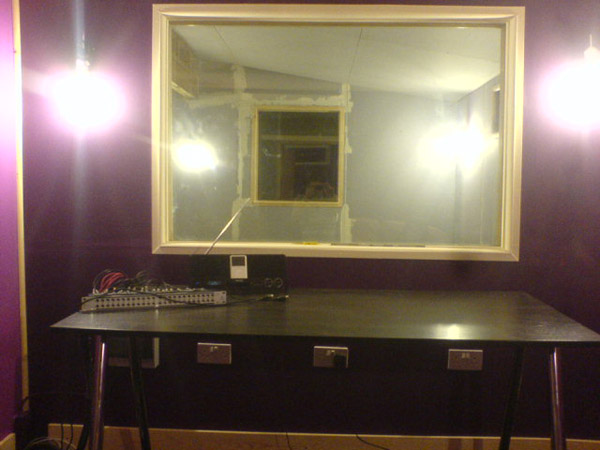
Finished control room window.
My itchy wiring cave now looking clean and habitable.
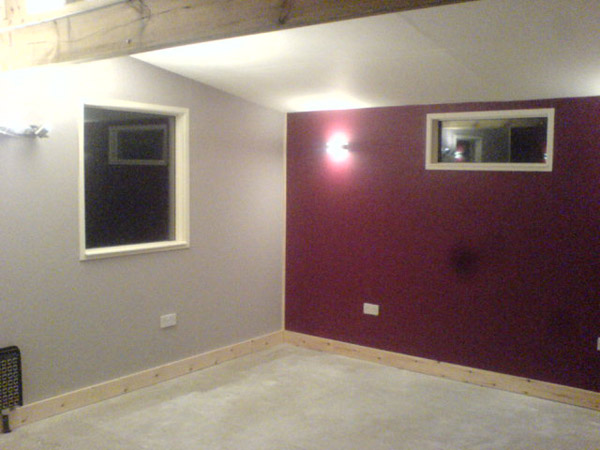
Control room: purple.
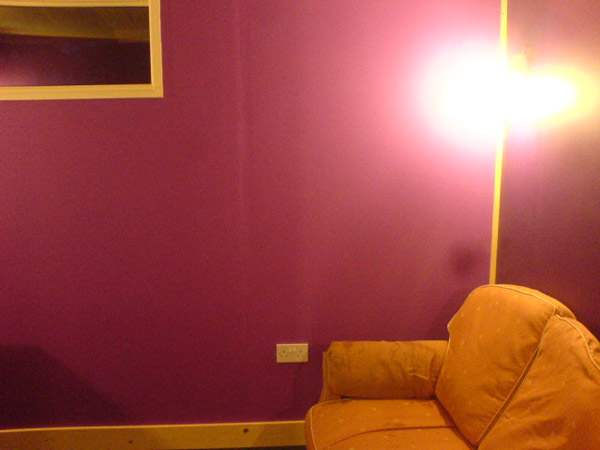
Delicious. Carpeted in black, skirting board fitted and sofa in.
The patch bay wired up for testing.
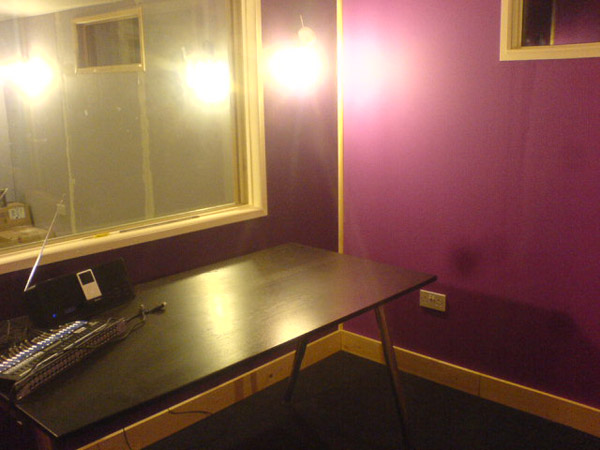
Another control room window view.
And again.
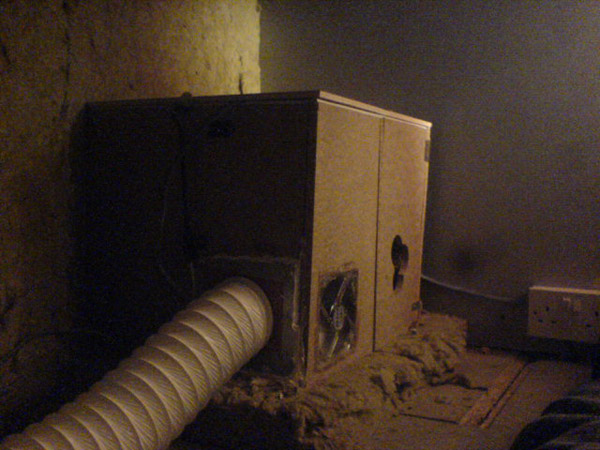
Our home-made acoustically baffled ventilation box. This used baffles of rockwool to adsorb sound going in and out while still retaining air flow.
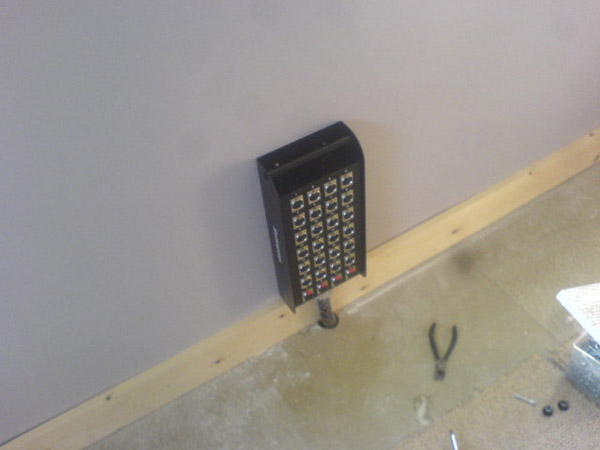
The stage box mounted on the wall.
A lovely painted live room. We went for deep red on a nice gray for our colour scheme.

Celebrating our success with some Wii bowling.